During my recent blog tour, I was asked by a blogger who is an art educator in a classroom with really little kids–3-5 years old–how they could get their kids started with stencils.
The best way is to gather leaves and paint off of the edges of them:
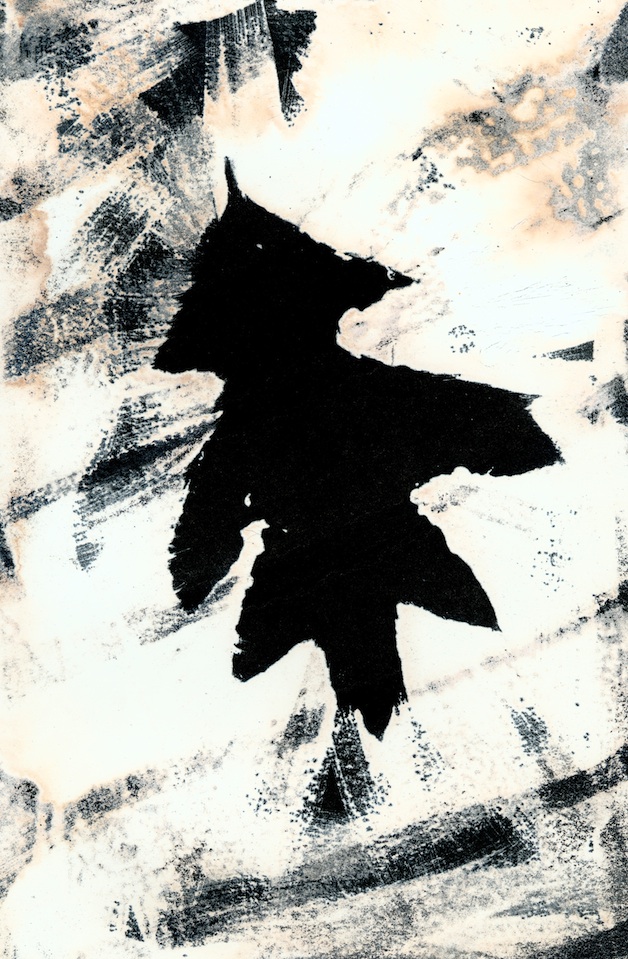
In this example, I collected oak leaves (they make particularly good stencils as they are sturdy whether they are green or brown), and painted off the edge of them with white gouache. I let the white gouache dry and painted over the whole page with India ink, let that dry, then washed the paper under running water (you have to use medium weight drawing paper for this so it doesn’t fall apart in the running water). But of course, you could get the same effect by painting white paint off the edge of the leaf onto a black ground, but the gouache resist technique is pretty magical if a little messy.
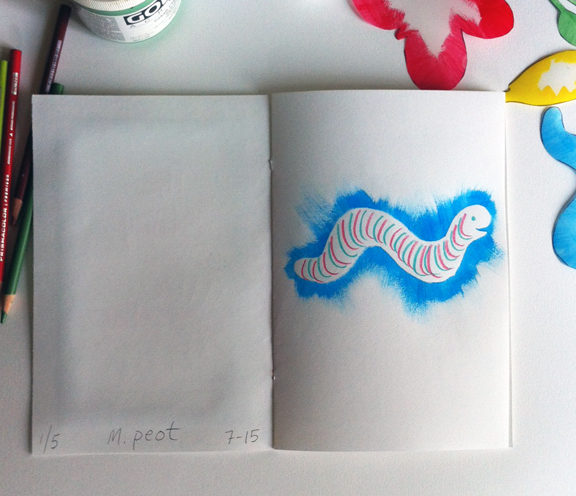
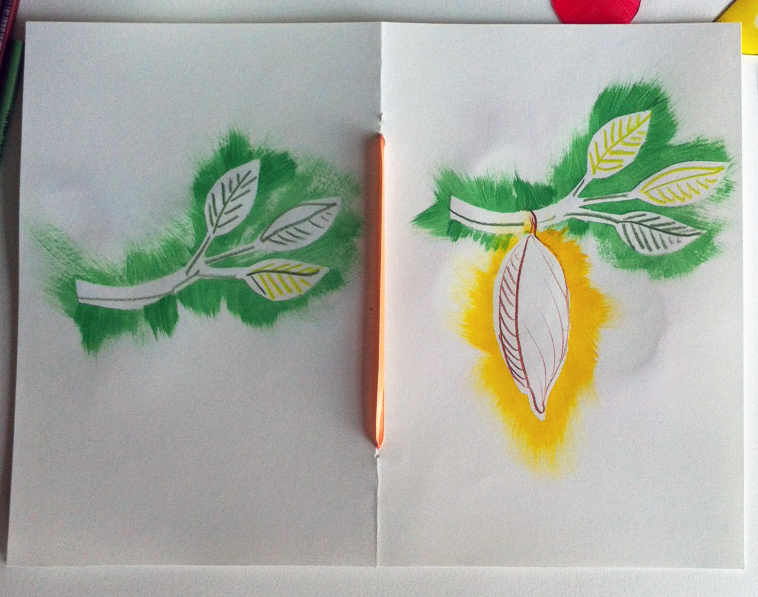
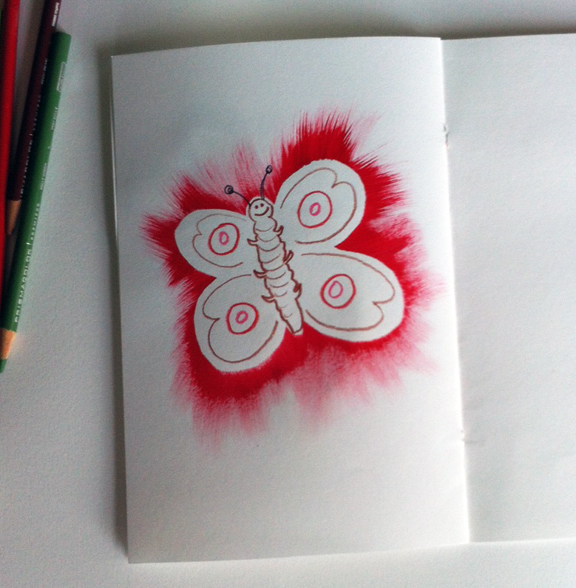
You can use the same brushing off technique with stencils that kids can cut out with scissors. This example is the story of a caterpillar turning into a butterfly, but it could also be the waxing and waning of the moon, a seed growing into a little plant, a ball bouncing through a landscape. The shapes can be simple, and the little book suggests a narrative. You can even make this a longer lesson by introducing the idea of printing an edition, signing, numbering the edition and dating each one.
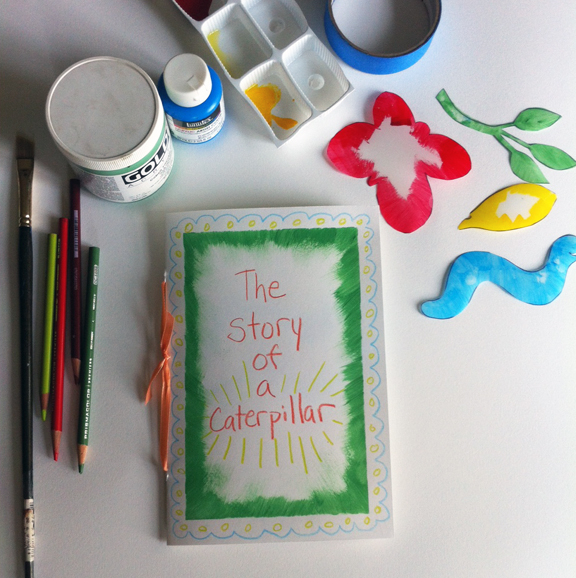
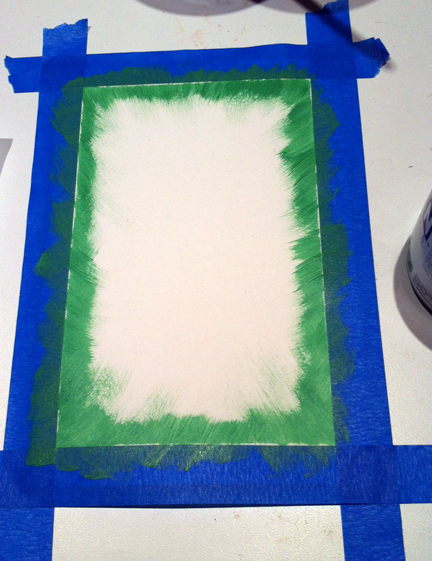
First, use not-too-sticky blue painters tape as a stencil and have the kids paint off the edges to make a border for their cover:
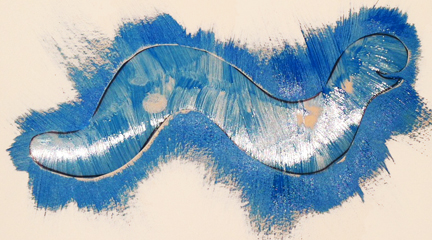
Then the kids can cut off and paint around their simple shapes within their books. Little fingers can easily cut out this caterpillar shape, hold it and brush off the edge of it to leave a white caterpillar shape than can be drawn into. The chapbook can be bound with ribbon or string, the stencil cover titled and decorated further. Kids can include words with their narrative, or make theirs a wordless picture book.The last blank page can be used for adding additional facts, or to dedicate the book to someone special.
